Wednesday, December 27, 2017

What's next?

The gauntlet of Christmas festivities, has been diligently run, and ready or not, here comes 2018. There are big changes ahead for us. Not only is our youngest, going to be starting Prep (school) next year, but David just started a new career too.

He received the news, as we were heavily in the midsts of Christmas preparations. Then on the day he signed contracts, we suddenly learned Christmas day, was off the table. He was rostered to work instead.


 Making flat land, for temporary gazebo


Timing...where were you? Because gazebo's had already been purchased, retaining walls, built - relatives planned to drive over an hour, to eat lunch in the new outdoors, entertaining area. Were we supposed to consider, canceling Christmas? Fortunately, David wasn't expected to work Christmas eve, so that became our new Christmas day. Close enough.

There is more to share about his new position, and even about Christmas, but I'll save those for future posts. This one is about the anticipation of a new year, and how we're planning to spend it.


 December 25, closed with a spectacular double rainbow


Rather than make new year's resolutions though, I'm choosing to adopt a word for the year, instead. "Sacrifice", is going to be my word. Because a bunch of things conspired at the end of 2017, to make me focus on it. I'm not planning to make specific sacrifices, nor any challenges for myself. It's simply a contrast, to the reward-based psychology, prevalent in our culture.

I want to practice more identification with "sacrifice", as a possible, positive influence in my life. It seems to be a word associated exclusively with martyrs, or even a form of punishment through self-deprivation. Basically it seems like a foreign concept, assigned to either greatness or unworthiness. My natural curiosity, wants to explore all the layers in between, to see it's full potential. 

What will this examination process, lead to? I don't know. But I look forward to contemplating the perception of sacrifice, in 2018. 


Sunday, December 17, 2017

Festive times

Unequivocally, it's beginning to look a lot like...well...you know ~


It's up!


The Christmas tree finds it's way into the living room, in early December. The decorations come out, and we all seem to get a little more giddy. Not entirely because presents are anticipated, but because it's a family tradition.

We're another year older, but this time of the year, never seems to age. Whoever makes up your family, whether you celebrate, big or small, it's simply a reminder to take the time to DO things together.

Even if it's just to send a package off in the mail, or call someone to remind them, you're thinking about what they're up to. Technology can allow us those special luxuries. Whatever you do, however you do it - be sure to do it, together.


Don't cry, I know it's Christmas


Normally, Christmas decorations are the jurisdiction of my family. They always were the ones to jump in, get it done and have fun while doing it. But for some reason, this year, I found myself indulging in Christmas decorating too.

The families are coming to visit this year, and it felt downright hospitable, to get involved in the decorating. So I did. And for the most part, I thoroughly enjoyed it.


Find meaning in anything you do


In our preparations for family, we somehow turned the house, inside out too - removing things, we're not really sure WHY we stored in the first place. The living areas have looked like a cyclone hit, for the past month or so. Still, it was good to clean out the cobwebs, and appreciate what was truly valuable to us.

In that collection of "things", we found our colourful metal owl, someone had discarded many moons ago. Which may have to do with the fact, it's head had been detached from it's body. We always meant to get around to fixing it, but poor headless owl, languished in the cupboard, as all our unfinished projects, tend to do!

A bit of super epoxy glue later, and owl is ready to see Christmas for the first time.


A new (to us) star


We purchased a couple of new Christmas decorations this year, and David found a woven star, from the local thrift store. Plus, he got it for half price! It's one of my favourites now. I wanted something less glittery, and more organic. It keeps repaired owl, company, on top of the fridge.

This year, David and I, have come to appreciate, not only how we want to spend Christmas; but also, how we wish to spend the rest of our days. The owl and star, have come to represent those aspirations - or how to acquire what needs re-purposing, and become involved in adding value them. Not for the intentions of hoarding, but to replace some of the frantic shopping, that seems to accompany this time of year. ANY time of year, really, if you find a reason to.

We wanted this Christmas to be a humble affair, but nonetheless, found ourselves, spending countless hours at a shopping centre (Mall) and buying coffees, plus hideous cakes (preservatives anyone) to escape the crowds. It was in stark contrasts, to the lucky find in the thrift store, and simply adding glue to something we already had.


 A decoration, given by a family member


After the shopping centre fiasco, we couldn't wait to get back home, to the house we took the time to decorate together. It was so peaceful, and undemanding, in comparison. Plus, the coffee didn't taste burnt! David has a "Super dad" mug, tucked away in the cupboard, and I pull out my lone Willow teacup (minus the set). Both were thrift store finds, as well. They serve us hot beverages, with more pizazz than any franchise ground, coffee bean.

No offense to anyone who actually likes franchise coffee - sometimes it can taste sensational! But ask me what I prefer, and I look forward to my lone Willow cup, waiting for me in the cupboard or dish rack. Because I actually get to participate in making the coffee, and the memorable stories behind what I drink it in.

Home. Christmas. Family. Community. Just participate and make it more of what you enjoy. We'll be entertaining this idea, more deeply over the holidays. Anyway...


...to all


Is there a Christmas/Holiday tradition you look forward to, or would like to change? I have a few up my sleeve, which I look forward to implementing.


Tuesday, November 28, 2017

Shady places

Continuing the theme of accumulative work, there's a relatively new project we've been working on lately. It does involve a retaining wall, but not building one! Thankfully. It's the retaining wall, below our hugelkultur beds.

During the warmer months, those blocks, heat up something terrible. Hardly anything grows in the beds. While the avocado tree sprouted near the wall, is helping reduce SOME radiant heat from reaching the blocks - it's certainly not enough to cover the span of wall, during the day.


Avocado (left) shade sail (above)


So we installed some treated timber posts, and a single, 3.4 x 3.4 metre, shade sail. During sumer, when the sun is high, it will shade approximately 3 metres of wall. But it will always creep in, on the east and west side, as the sun rises and sets.

To mitigate this, we're building screens on half the sides. You can see the lattice, installed recently. It was a gift originally, and I was tired of storing, instead of using. While it's not entirely big enough, I intend to add some mesh above it, with a pot underneath, to grow climbers over. That should provide better shade cover. I will do something similar on the west-facing side.

While it looks kinda junky right now, everything in the image above, has a purpose. The styrafoam boxes under the lattice, are shading a couple of pots I have potatoes and jerusalem artichokes, growing in. The plastic pot, on the styrafoam box, has a rock in it, to stop the box from blowing away. The white buckets in the middle, catches the rain which drops from the shade cloth. I then ferry that water, to the hugelkultur beds.


Best pepinos I've ever grown, over the retaining wall ~
now receives morning shade from the sail


The goal here is to create more micro-climate, for growing plants. Mostly edible ones. Also, to use the man-made infrastructure, as a means of capturing energy where I need it (ie: water harvesting) or deflect energy where I don't - radiant heat.

It's another work in progress, as funds and time become available. I intend to use more recycled materials to complete this shady area. In the meantime, we make do with boxes, buckets and other bits and pieces we can find. It's kind of ugly, but progressing us towards meeting our goal of more food production. Which is kind of great!


Sunday, November 26, 2017

Emerging

'Tis the season, in Australia, when the cicadas start emerging from the ground! I thought I heard a snake in the long grass, but it was newly emerged cicadas, learning to fly for the first time. Like low flying bombers, they'd brush against the grass, trying to figure-out how to get altitude!


Exoskeleton abandoned, and ready to fly


Get ready to hear the trees, roar with their song again, as Christmas (and summer) approaches. Perhaps in the Northern hemisphere, snow signals the festive change of season. Here in the south, however, it's the cicadas song.

Hot or cold, are you ready for the season of festivities ahead?


Friday, November 24, 2017

Accumulative work

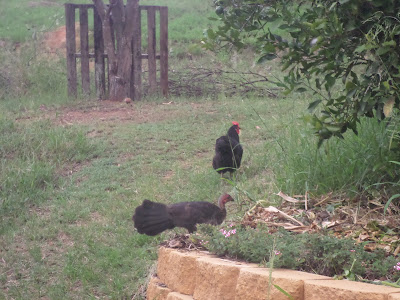
While I've been away from this blog, I've been working on a building project. A very old project. It won't be news to those, reading this blog for some time. I'm talking, retaining walls again. Yes, my friends, we're still building them. Nine years, by my count.


 May 2008


We started our first drystone retaining wall, back in 2008. Which was more like a rock veneer. It wasn't designed to hold any weight, just stop the soil from rolling down the hill more easily - into the areas we wanted to use for compost bins. It was just a tiny prelude, of what was to come!


Terrace block walls


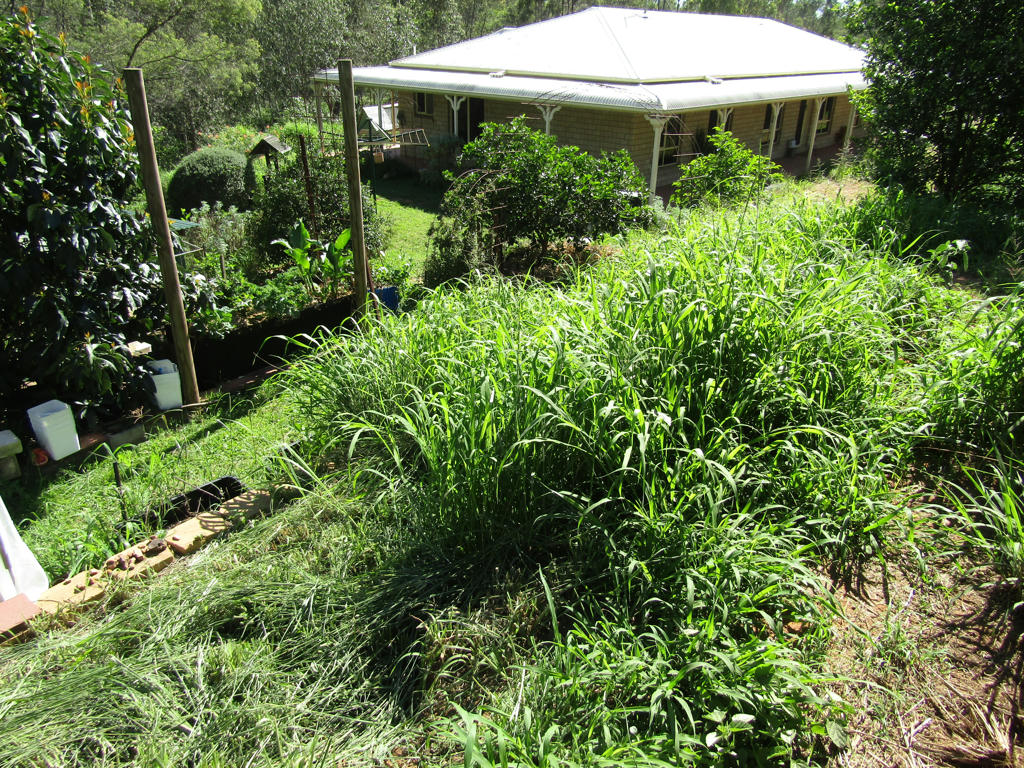
Our very first "prefabricated" block wall, went up, early 2008. Oh boy, we filled in about 7 years worth of work, on prefab block walls! Which gave us a lot of FLAT utility space, on our many slopes. We purchased cheap land, but the cost came later, in constructing retaining walls.

We've found cheaper ways to build them however...


 Log walls


Like using the enormous trees on our property, as wooden retaining walls. Total termite fodder! As they're not treated, at all. But at least they keep the little sawdust munchers, less interested in the house. Being hardwood trees too, it takes many years to make a meal of.


Tyre walls


We've even used free tyres to build retaining walls. Anything to keep costs down, as we attempt to hold the earth from defying gravity. Because when you've been doing this for as long as we have, you have to find ways to trade "time" for "money". Meaning, you use more of you time to gather, free materials, than you use money to purchase them.


First, large, drystone retaining wall


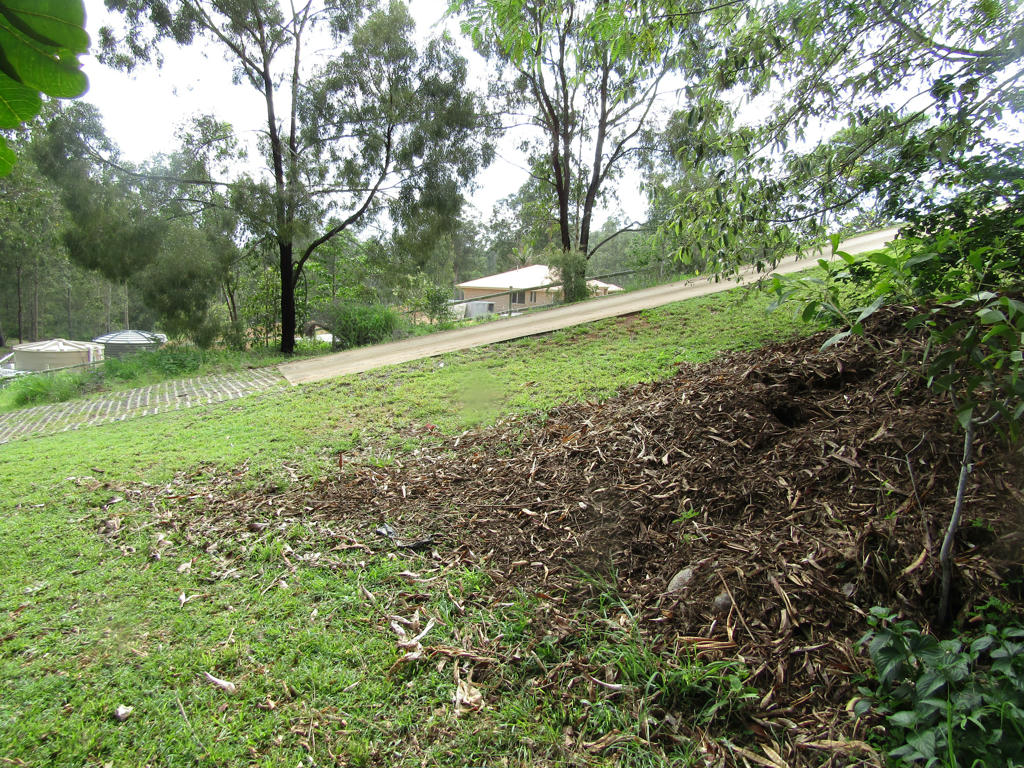
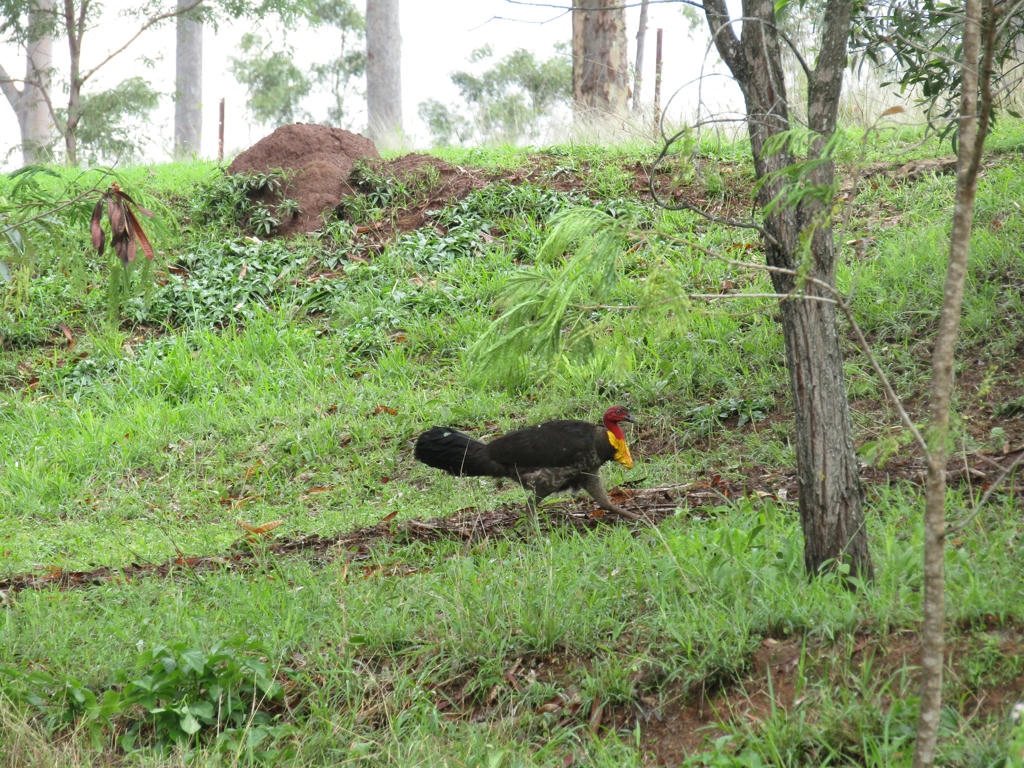
Where we really came into our own though, was in discovering the ability to build drystone retaining walls. The mega variety. And the fact, our local council  (or Main Roads, I'm not sure which) would dump dirt from road reconstructions, after the flood, just a few streets down from us. We'd grab a trailer full of dirt, and inevitably find a hoard of rocks. Home they came with us too!

We have not managed to reduce that pile, because roads keep getting built. More resources keep being added. We're barely making a dent.


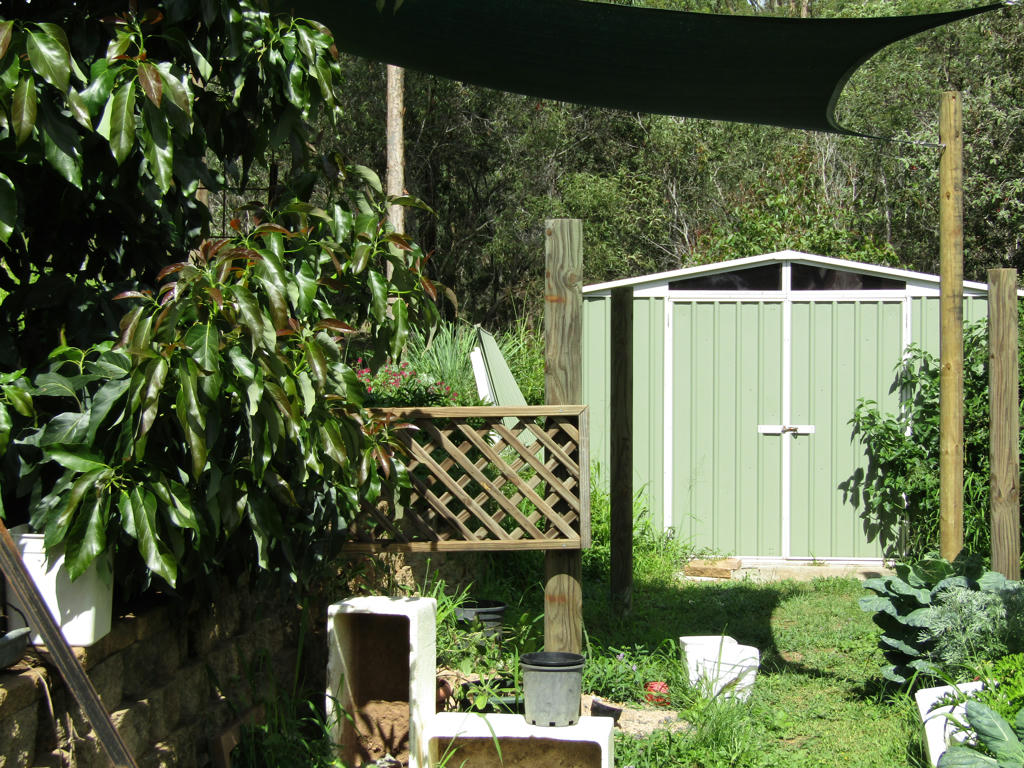
 Upper and lower walls -2013


We actually started fortifying this side of the house, with drystone retaining walls, after the 2011 Queensland floods. Work started on the lower wall, early 2012. Why did it take us a year to get building? Because it takes that long to acquire resources. We were working on the walls in our spare time, between raising kids, going to paid work (in my husband's case) and generally managing a property.

The last time we left off this particular drystone retaining wall, was back in 2013. That was the year our son was due to be born, so it wasn't long before all work on this drystone retaining wall, came to a halt.


February 2013


This is where we left it, and four years have passed, since. Having babies and building driveways, are important time commitments too. Honestly, I can't remember everything we did, in those four years, but I don't remember much resting. Opportunities were seized, but not for this particular drystone retaining wall. Not until recently...


 Click to enlarge


The new section has been cobbled together, much like the rest - as resources became available. We like the big rocks for the base, but they're not so easy to come by. So we wait until we have enough to build the next section. And so it has been going, for these drystone retaining walls, since 2012.

It takes time, but it costs less.


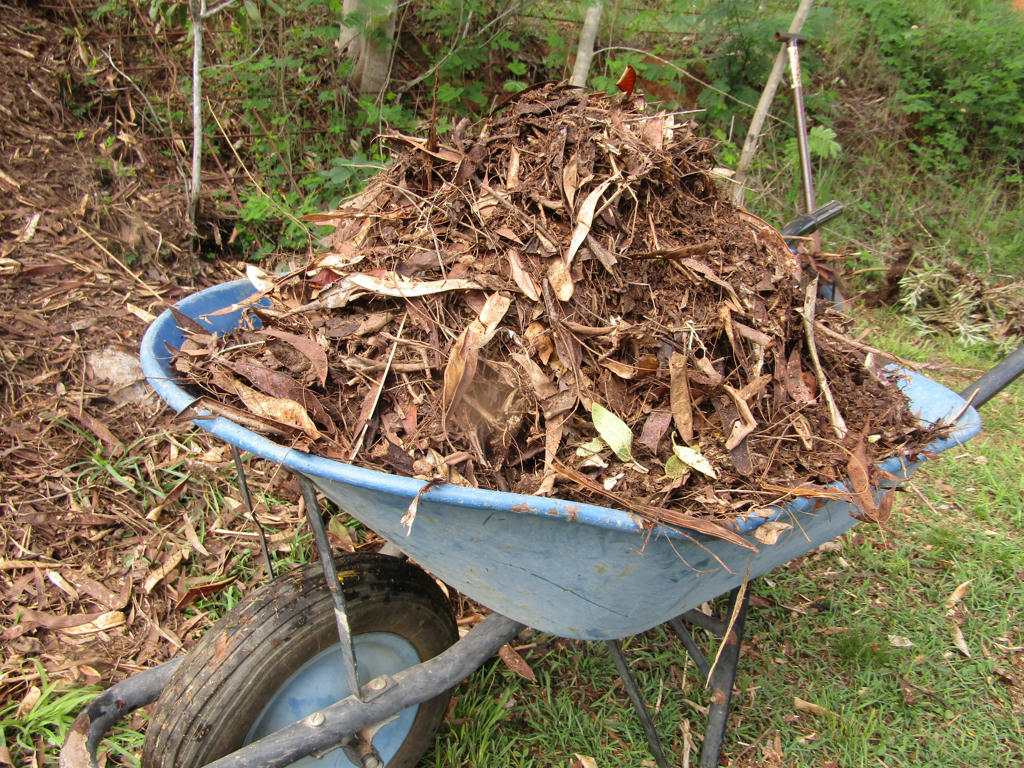
Backfill opportunities


We're not particularly picky about which materials we put in our walls either. Backfill (behind the wall) is for hard trash, really. David found some old besser bricks, from someone's old project, at the local tip. They have been used and partially filled with concrete. The one above, also had a beer bottle embedded into the concrete. Someone's celebratory contribution, perhaps?

I topped it off with some blue-metal, available from the local landscape supplies. Blue metal, is what we purchase for these drystone retaining walls. Because no matter how hard you try, there will always be a small gap to fill. Which brings me to the next thing about building drystone retaining walls.


Size matters


There needs to be plenty of different sizes of rocks. Because when you're putting a wall together, with non-uniform pieces, there is inevitably a gap to fill, requiring different sizes.

We try to stack our incoming rocks in different piles based on size. There will always be those rocks which don't fit into the small, medium and large categories, but they end up in one pile, or another. Eventually, they're all used, until it's time to go searching for more material.


The base


The biggest rocks are reserved for the foundation. Make sure these are solid, and without imperfection, as they will be holding a lot of rocks on top. In Queensland, regulations state you're not allowed to build a wall, higher than a meter, without an engineer's certificate. We're sure to keep under a metre, but even low walls, can be heavy.


Chinks


Always have on hand, a lot of smaller rocks too. These are great for chinking into places, larger rocks won't fit. It's like putting a jigsaw puzzle together. Return to your stack of rocks, regularly, to find the pieces which look to fit the best. If that fails, you may have to use two smaller rocks to fill the one space.

The aim is to fill in all the spaces, so none of the rocks will move. The ingenuity behind drystone retaining walls, involves filtering any water through the entire rock face, without the soil! So small rocks for chinking, are just as important as large rocks are, for the foundation.

Blue metal, is that glue for us - filling in all those spaces we cannot find a rock for. So it's worth the investment in purchasing. We want these walls to last.


Depth


The thickness of the wall is important too. We aim for 40-50cms. The nice facing rocks go down first. Then ugly backfill, goes behind. We've been able to find a lot of petrified wood on our property for this purpose. We find petrified wood and sandstone, but quality can vary, in the latter.

With sandstone, we've found it's best to let it soak in water and see if it breaks apart. Lower grade sandstone will, and eventually disintegrate over the years. You don't want that in your wall. Especially in the foundation. Any sandstone we're not entirely sure about, goes in the upper section of wall - just under the capping stone. That way, it's easily replaced, if they do prove to be inferior.


 Angle


An important design feature, of a strong wall, is tilting the rock face back, by approximately 10 degrees. This has to do with the angle of repose. It's a bit technical, and each wall will have a different angle: depending on the location, the slope and material the wall has to hold back.

As a general rule, we keep to 10 degrees. So as we're stacking the rocks, up, we place them further back, than the rocks below. This helps to resist the weight of the material packed behind. It has worked wonderfully over the years.


 Old section, observed recently


This is a section of the original wall, which is approximately four years old. It hasn't moved in that time. As for which rocks we choose, I read in a landscaping article, they should all be the same. Apparently it's meant to look more professional.

Unfortunately, we don't have the luxury of uniform rocks, so we use whatever we can get a-hold of. Blue stone, sandstone, river stone, petrified wood, and even, good old concrete!


Concrete capping stone


We've found a lot of concrete, pulled from the road, in various soil collection journeys. They have a flat (enough) top, which makes for a nice top layer. We've even used concrete from the pour of our house slab - builders always dump the excess somewhere; which has been good for back-fill too.

We use every possible rock-like piece of the puzzle, to build our drystone retaining walls. If it's going to be dumped into landfill anyway, it might as well be in our own.


 Up close


I actually like the different tones of rocks we collect. It's like a patchwork quilt, using what we have available at the time. I can certainly see the appeal of a uniform rock wall, but I haven't found our cobbled together ones, altogether unattractive, either.

Besides, over the years, they tend to grow moss and fungi which blends them all together anyway.


This rock is not rolling


A large chunk of concrete we used in a wall, just down from our current project. (I'll demonstrate what I mean soon) has been in shade, for most of winter. Which has caused it to grow moss, all over it. Making it blend into the greenery, all the more perfectly.

I love seeing nature, take over our endeavours, by adding it's personal design touches. Shades of green, abound!


Lower rock wall


This is the lower wall, just down from our current project - and it came together last winter. It's actually where we first use to dump the rock, when building the original drystone retaining wall, back in 2012. Seeing that pile of rocks, become invaded by weeds, as the years passed by, kind of inspired us!

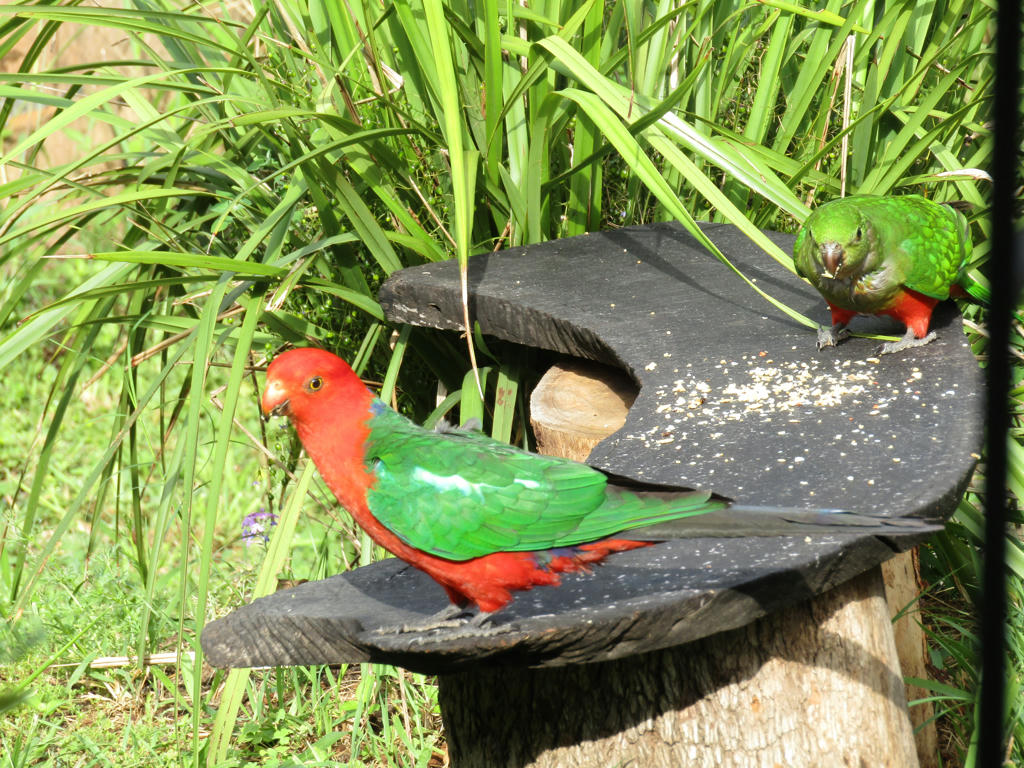
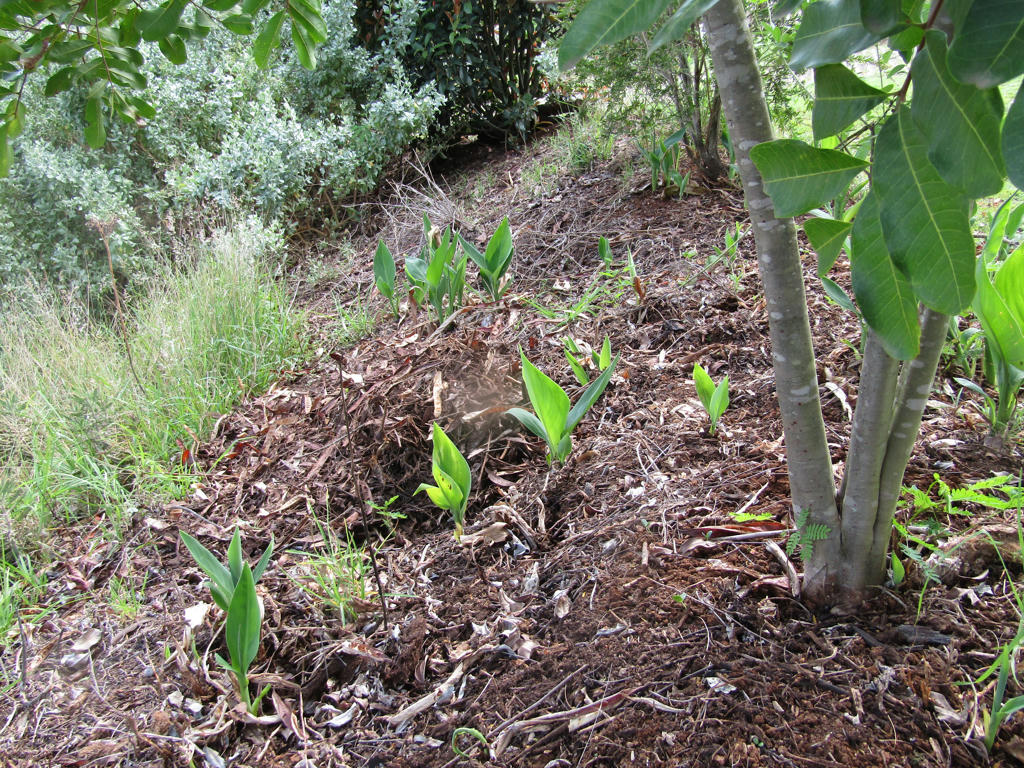
So we removed all the old rock (and the weeds) and built a very low wall. Really, it was designed, to hold back the soil for the plants to grow. You can see the Spanish Iris (grass like) which we broke up the wall with. There are other plants behind the Iris, but they're still very small.

I call this our green, rock wall. It's a fusion of rocks, with plants - working together to hold back the soil.


In perspective


This shows the lower green wall, in relation to the upper drystone retaining wall, we're presently working on. In between, we've created an access path. The wheelbarrow is taking up some room, but that's what it's meant for. Access!

When designing retaining walls, always plan for an appropriate access path. If you can have it before construction begins, it makes for a safer working area. There's nothing worse than hauling heavy rocks around, only to have your foot land in a dip in the ground. Ask me how I know this?


 Access is essential


In the five years, since this project began, we've been working on a site, with MANY dips and ruts. When we constructed the lower green wall, last winter however, it showed us the line for a pathway. As we dug out the soil, for the foundation of the new wall, we finally filled-in all those dips and ruts, in the pathway. It's heaven now!

Seriously, I must have goats knees from the many years, navigating less than perfect terrain - on slopes. My brain, somehow knew many of those holes and avoided having mishaps in most of them. But if you don't have to do that, don't!

Every time we make another piece of flat land, we lament why we didn't do it sooner. But, gosh, we've been so busy doing other important stuff too. Collecting resources, doesn't happen on it's own! So everything has to wait it's turn. But consider those access paths, as the MEANS to doing things. I'm glad we decided to perfect that pathway, the second time around. It's made such a difference to working on our project again!


Down tools - but not for long


So this is where we are at, presently. We dig down, about 10-20cms, for our foundation rocks, and build up a section of wall, as we find the resources. That's how it's been for 5 years, and that's how it will be, for however many years to come. Time. Painstaking to wait, perhaps. But has saved us anywhere between five to ten thousand dollars, purchasing materials to date.

We've acquired materials from dump sites, our own yard, they've even washed downstream, in our gully - and even collected rocks from my mother's house. She brought a few in her boot, a couple of times a year, when she came to visit. They weren't desired in her yard, but went to a good cause in ours. Oh so gradually, we found the resources, and built a wall.


 Getting there


When I think about what we've achieved on our landscape, it was really TIME that needed to be invested. We found precious little "spare" time, but what we had, managed to be cobbled together (like our wall) and accumulated gradually, to be something more substantial.

When I think of how we felt overwhelmed, or the toddlers who didn't cooperate with our building plans - the times I worked alone on the wall while my husband worked off site. When I think of the exhaustion, and the near misses too, well there's quite a lot of imperfect living, packed into those walls.

My husband has a saying, and I guess it's entirely true. We are packed into those walls, and they signify who we are. Superheroes, we are not. The physical reality of a busy life, constantly feeling like there's not enough time in the day. Goodness, but doesn't it amount to something more substantial, when work accumulates over time?

You can be weak, AND strong, so long as you have a degree of health and mental dexterity, to keep forging through those little pockets of time.

Is there a long-standing project, weaving through your life? I'd love to hear about it.


Tuesday, November 7, 2017

On the wing

A pair of King parrots


These two! What rascals. The red boy decided to dive bomb me, one morning, on route to feed the chickens. He's game, I thought. Upon leaving the coop, he dive bombed me, no less than four times. He wasn't aggressive, in fact he kept talking once he got me to stop. Apparently, I was supposed to give him my undivided attention. Or perhaps it was something else he was after?

I don't know if he's been tamed by another, but I figured, he's tamed me now. What a character! So I grabbed a handful of parrot mix, my daughter has for her pet cockatiel, and put it on the rustic chair, under the clothes line. As soon as I did that, he called his girlfriend over.

This picture was taken the following morning. It's the same handful of seed. In the decade we've been here, the King parrots have mostly kept their distance. These are the exception to that rule. Maybe I'll leave another handful of seed out, tomorrow?

Monday, November 6, 2017

Observing the edges

The most recent hugelkultur bed installed, was placed underneath a block retaining wall. It has several advantages in this position. Firstly, it's a heat sink for winter sun - meaning I can extend my growing season. Secondly, the hugel bed shades part of the wall, creating a cooling effect, in summer - on that side of the bed.


Grass, partially cut


For every benefit however, there's a deficit to consider on any particular "edge". In this case, we had grass growing directly above the wall. David normally cuts it with the brush-cutter, but during summer when the rain is about, it can grow really fast! If it sets seed, it can end up sprouting between the wall and hugel bed. Making access to pull it, much harder.

So I got my trusty (manual) hedge trimmers out, and cut the grass back, directly behind the bed. It took about 20 minutes all up. That's only because I was actually doing something with the grass, afterwards.


Using the cut resource


Close by, I also have in-ground hugel beds, which I mulched with the recently-cut grass. The same treatment was given last Autumn, so the remnants of that old mulch, was still on the surface. Meaning, as the new grass dries, there shouldn't be much nitrogen drawn from the soil. So it's a good idea to reapply mulch, before the old one breaks down completely.

The banana, arrowroot, pigeon pea tree, and newly sprouted pumpkin vines, didn't seem to mind. In fact, the more regularly I do this, the better the soil is becoming.


Faithful "Kent" pumpkin, does well in our garden


Fruiting plants, such as these pumpkins, do much better with a continual food supply, throughout the growing season. I noticed the leafs of these new pumpkin vines, responded immediately, to the addition of mulch.

Their leafs can handle strong sunlight, so long as their roots are kept cool. If I keep adding the grass mulch, as a form of garden maintenance and attempting to keep the snakes at bay, my fruiting plants, can only benefit.


Sustainable resource


As long as the rain makes an appearance throughout summer, I shouldn't run out of grass mulch, either. I took the picture above, from the same level as Hilltop chicken coop. You can see where I cut the grass with the hand sheers.

David was able to come through, several days later, to brush-cut the remaining grass. It was quicker, but also flung the grass right where I didn't want it to be - between the wall and bed.


two vintages of mulch


The yellow mulch, was from my hand trimming efforts, and the greener mulch, was applied several days later, after David cut down the rest. I've noticed since the rain has arrived, my energy levels in the garden have escalated. I'm out there all the time, interacting with it the growing systems.

It must be what small birds must feel like, when the rain comes and the grass grows too. It's time to get busy and make a nest. In this case, the nest, is my garden. I may not need long grass on the retaining wall, but I could use it lower down the slope.


No more grass seeds - for now


Permaculture principle #11, asks us to consider USING edges and valuing the marginal. In this particular instance, where the block wall & raised bed (infrastructure) meet the natural elements, the grass seeds will of course, attempt to exploit that niche in between the infrastructure. That's how nature uses edges.

In order to make my maintenance easier, and (hopefully) less snake friendly, I choose to exploit that same edge, to benefit my growing systems. There's TOO MUCH grass for me to control, so there will always be seeds floating around the system. But I can use them as a resource, in the areas I absolutely need to keep grass maintained. Then placing that resource where it can do the most good.

I have another trick up my sleeve, dealing with this particular edge. But I need time for that strategy to mature. In the meantime, contemplate the edges in your own garden, and see where a potential problem can become a potential solution.


Friday, November 3, 2017

Raising the ceiling

In my last post, I linked to a brush with fate, in my vegetable garden. Or simply, how to invite brush turkeys to dinner, by watering. They like to dig up ground which is moist. Because it's easier to dig and attracts soil life to consume.


Turkey scratching in my hugel bed


Well, I finally managed to do something about the situation. I purchased some moth netting from the hardware store, with the intention of covering my hugel bed. I had a plan, but it required my husband's help, retrieving other building materials from the jungle (aka: outside storage area).

In the meantime though, I hung the netting over the bed, with just the blue milk crate, to hold off the plants. It succeeded at deterring turkeys, but was inadvertently killing the plants underneath. I'd successfully put a lid on a very full saucepan, and the plants were cooking.


Metal rebar


David was finally able to help me (between rain storms) retrieve some long rebar, from an overgrown thicket. Using the angle grinder, I cut one 6m piece, into four - making them 1.5m long. Then hammered each, into the four corners of the hugelkultur bed, by 20-30cms.

I had scraps of other building materials, to put onto the upright rebar...


Archways, and wilting silverbeet


Old water pipe, leftover from the original house build, was something I wanted to find a purpose for (instead of storage). So was the rebar, for that matter. I'd been wondering, how to use those 6m lengths for about a decade! Now they're helping me grow food.

Back to the water pipe though - I merely cut enough length, to create an arch across the bed, at both ends. It required a handsaw to cut the pipe, being so thick. Which made it perfect for holding the arch shape. I don't have to worry about flopping over.


Protected


Then it was just a matter, of draping the netting over the archways. I purchased 5 metres of netting, which was sufficient, to cover all sides of the bed.


Metal clip


To secure the netting, I first started with regular bulldog clips, attached to the rebar. Being metal however, I knew they'd rust over time, and possibly discolour the netting. So after a week, I replaced them with plastic ones, found at Bunnings Hardware.


Plastic clip


Now, the inside has a lot more filtered light, and air flow, which is allowing the plants to thrive. Making it so far, the best performer from all my hugel beds.


October 23 - first erected


November 3 - twenty days, later


The silverbeet has gone gangbusters. And while the netting doesn't keep absolutely all insect critters out - it reduces them significantly. PLUS, I don't get turkey damage, which is the main goal for this particular infrastructure.

I'm considering doing something similar with the other two beds. Now we've retrieved the rebar from the undergrowth, it won't take long. 

This particular bed has some other challenges, which needed addressing. Aptly covered by Permaculture principle #11 - use edges and value the marginal.

But more about that next time.


Wednesday, November 1, 2017

What goes around...

I have been lamenting some brush-turkey damage in the garden recently. Especially when it had been so dry. Watering any plant, was an invitation for them to scratch it up. Because water, brings life to the soil. They're not silly, those turkeys. They gotta eat, and my garden is a good buffet, when times are lean elsewhere.

More recently, we discovered a new ritual they were up to...


Click to enlarge ~ scratching up hill


Mr Turkey was building a nest. He started a line of scratching, where there was leaf mulch to be had (under the trees). He patiently worked his way, up and down, scratching the mulch back to the nest. It was incredibly funny, once he reached the canopy of the trees again - because he'd immediately race back to the nest, like a hungry velociraptor on steroids!

By golly, they look hilarious when they run!

I was lamenting my garden again, when Mr Turkey cleaned-out the leaf mulch under the trees. Because it was my nearby garden bed, he turned to next!


 Denuded of mulch


Luckily the rain had been around, so I wasn't worried about the soil drying out, after he made off with the mulch. But I had to observe carefully too. If the sun decided to come out, for a long stretch, I'd have to get something else to cover that bed. I really didn't want my plants to be set-back, after the rain had finally hydrated the soil again.


 Flooded gully


The rainy weather, ensured I never had to deal with re-mulching for the short term. And Mr Turkey, was certainly a dedicated father, flying over the flooded gully to reach the nest every day. He wanted to add more mulch, to keep the eggs in the nest, dry.

As much as I didn't want him pilfering mulch from my plants, I had to admire his tenacity, to bring another generation of chicks into the fold. I was quietly cheering him on. Crazy, I know! Why would we want more brush turkeys, feasting from our garden.


No longer a mound of leaf litter


Then, one day Mr Turkey didn't return to the nest. Maybe he'd done all he possibly could, and now it was the waiting game for his chicks to emerge? The baby chicks must fend for themselves, once they emerge from the nest. Dad is long gone, by then - and mum left, once she laid the eggs.

When I found holes in the nest, I thought - maybe they had emerged? But something didn't seem quite right. Why had so much mulch been displaced?


Mulch everywhere?


Mr Turkey, always kept a clean operation. We were amazed how neat that pile of mulch, was. It appeared, something else had interfered with the nest. There should have been one hole the chicks emerged from, not three that we found. Nor should there have been mulch strewn everywhere.

It could only be one thing - a goanna must have raided the nest. We get plenty of those around here. Especially at this time of year, when birds are laying.


He worked hard


Sorry, Mr Turkey. You availed much, but you were robbed in the end. I know how that feels. But I get why you're doing it. You've got to live somewhere, and pick the best place you can, to set up the next generation. You're making a living, like the rest of us. I don't begrudge you that. And our garden is pretty cool. No wonder you like hanging out here, so much.

Once I spared a moment, for Mr Turkey's loss, my attention turned to something else...


Organic bounty


The rain had stopped, and the sun made a more regular appearance. I needed to cover my garden bed again. Mulch! What goes around, does indeed, come back around.

Not only did I have the few remains of the wood chips we dumped there - which Mr Turkey saw as an opportunity for a nest, but I also had all this new leaf mulch too.


Phew!


My beds have been re-mulched again, preserving the moisture all that rain left behind. With summer around the corner, I'm relieved for that. And no doubt, Mr and Mrs Turkey will be finding another suitable location for a new nest.

I saw them in the yard, just yesterday, checking out real estate, under the mulberry tree. I gave them a warning chase, but only because they were a little too close to my vegetable beds. They're not threatened by me at all, because they're always back, a minute later!


March 2016


I wonder if one of these nesting Brush Turkey's, is the one, old Matriarch hen adopted in March 2016? Old Matriarch has now passed on, but the brush turkeys, remain in our landscape. And no doubt, will, for a long time to come.


Growing, brush turkey chick, April 2016


 November 2017 - the resemblance is uncanny

 
What goes around, comes around - whether it be seizing organic mulch, adopting baby brush turkeys, or tolerating the grown ones in our garden. I guess even Mr Goanna has to make a living too. And his offspring, will be (ironically) preyed upon by the carnivorous birds in our location.

There's still plenty of time in spring, to build another turkey nest. And if I know anything about the brush turkey's in this area, they're as tenacious, as the landscape is challenging. They'll be back...and so will their kids! That's how it's meant to be.